通过本文记录个人博会在github自动化部署。
0. 序言
0.1 本文的目录
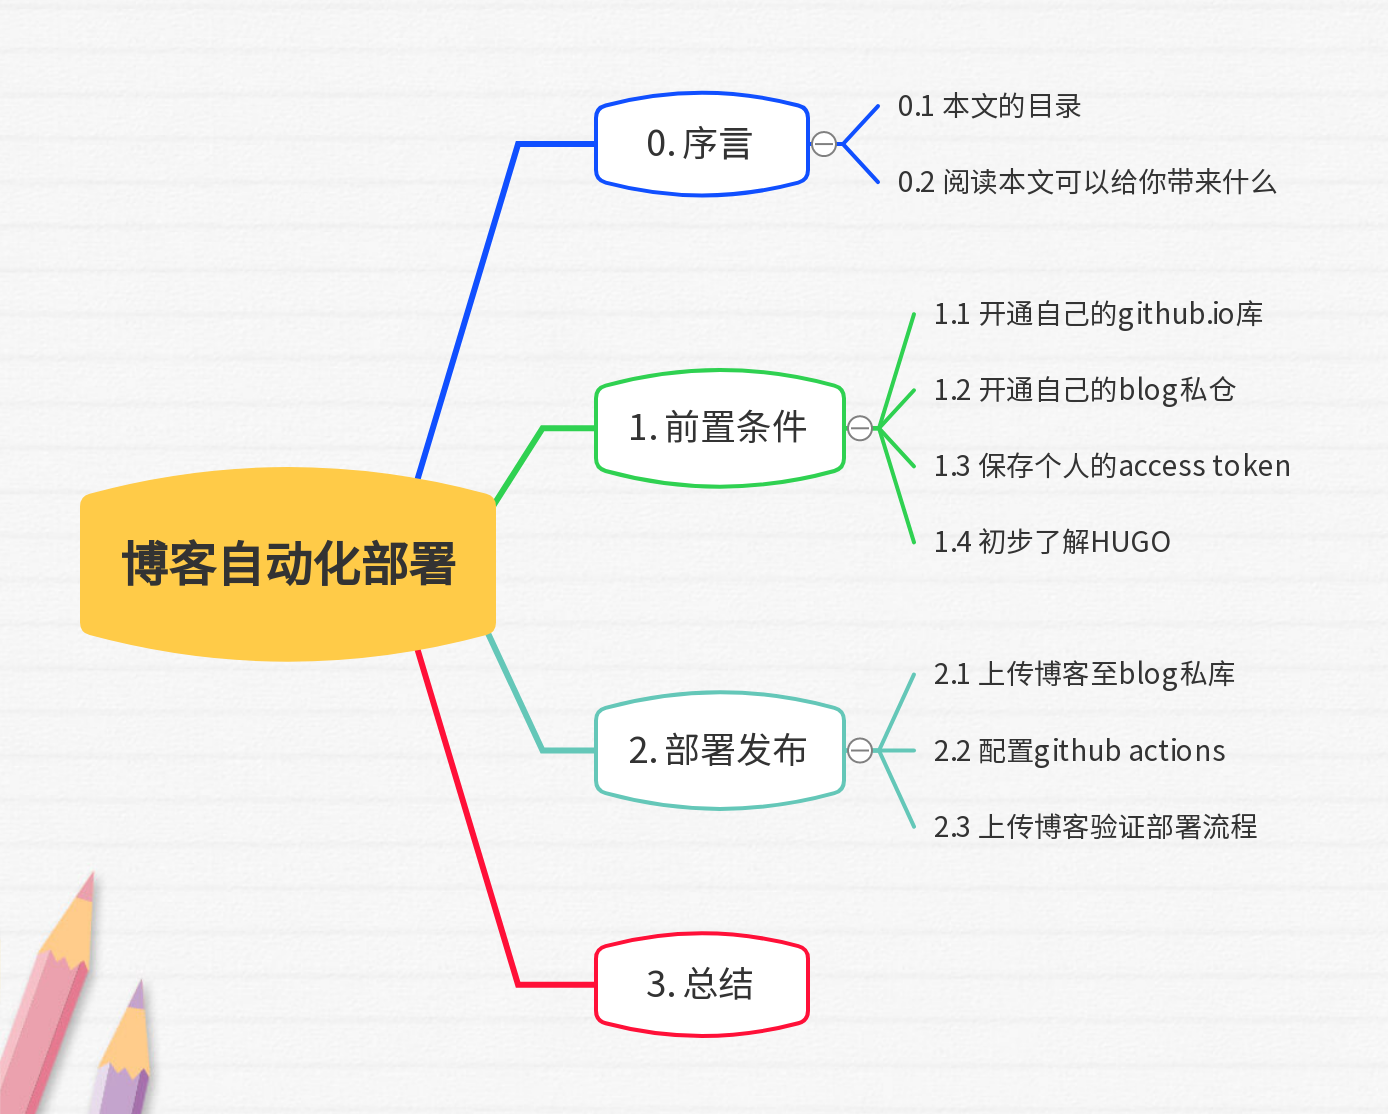
0.2 阅读本文可以给你带来什么
实现个人HUGO博客在github自动化部署。
1. 前置条件
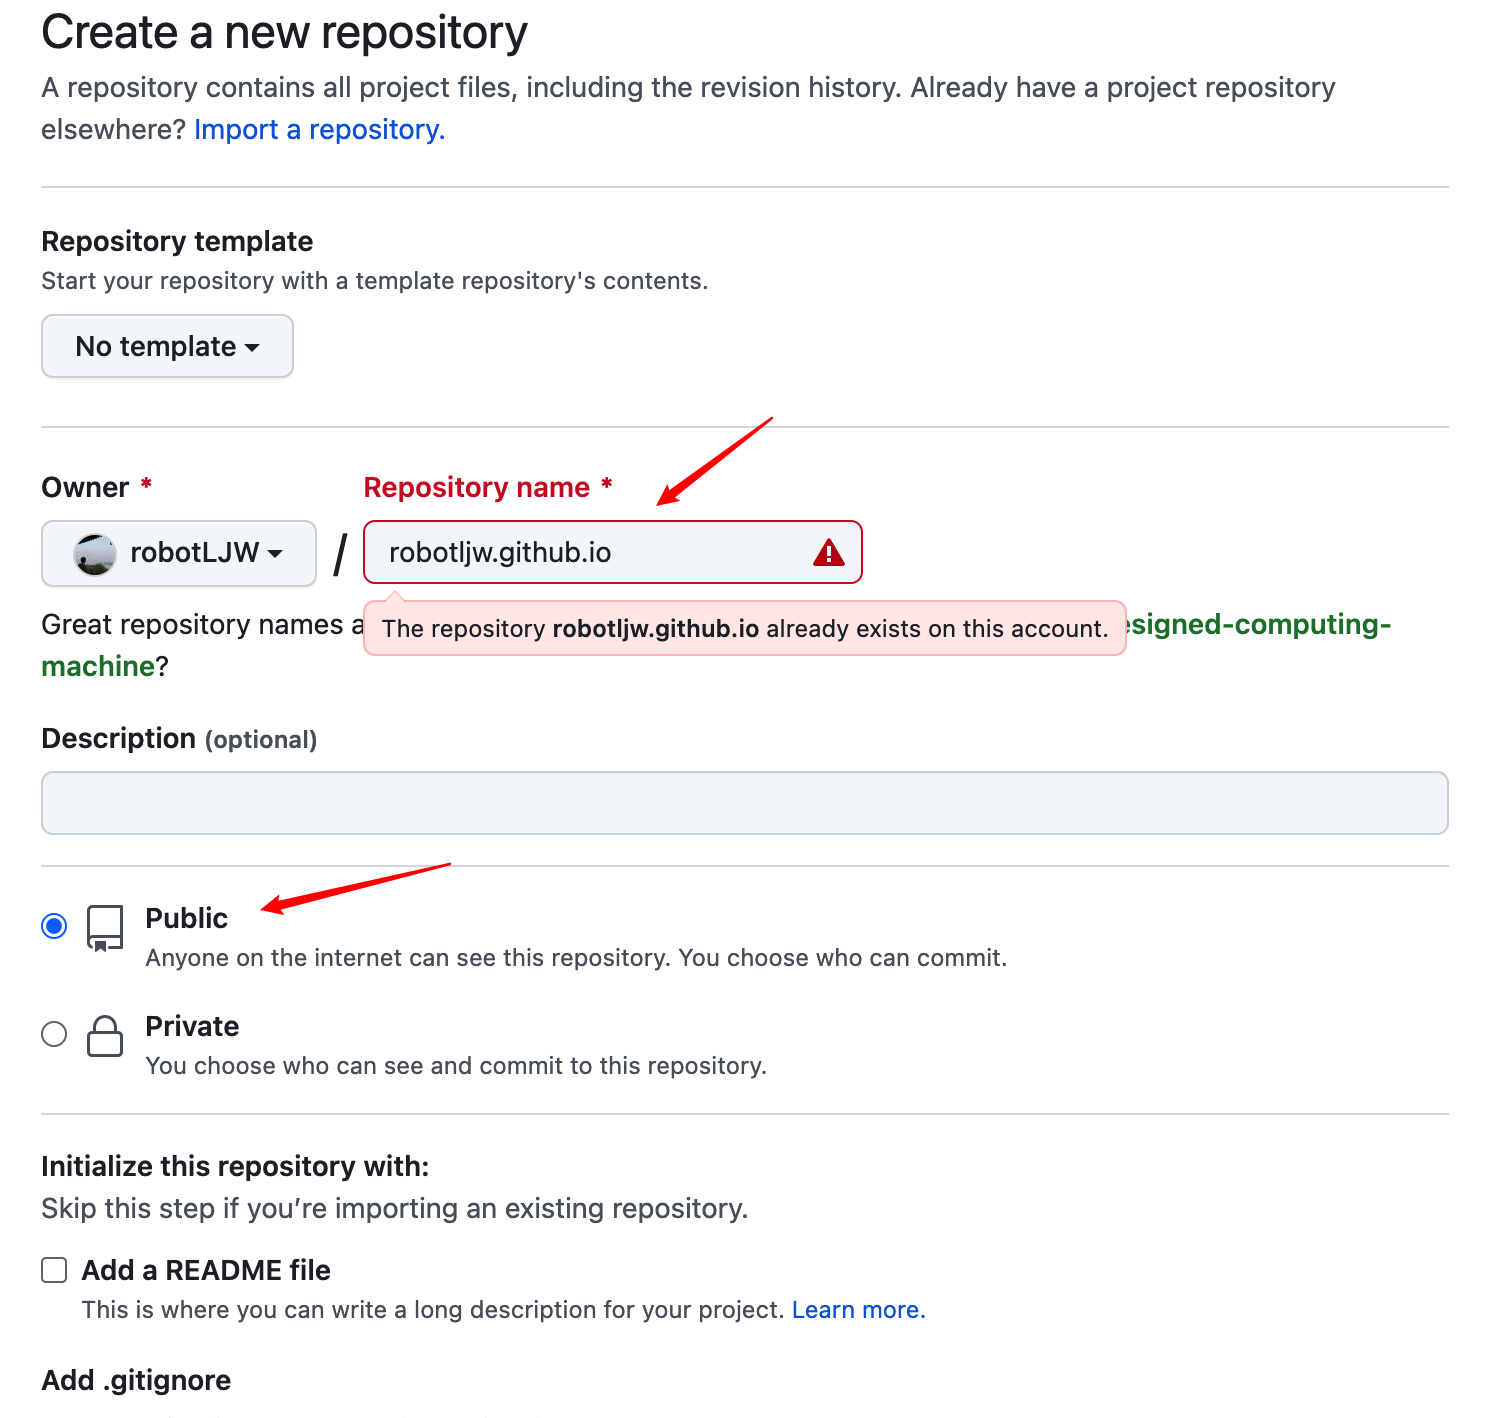
1.1 开通自己的github.io库
名字建议: 用户名.github.io
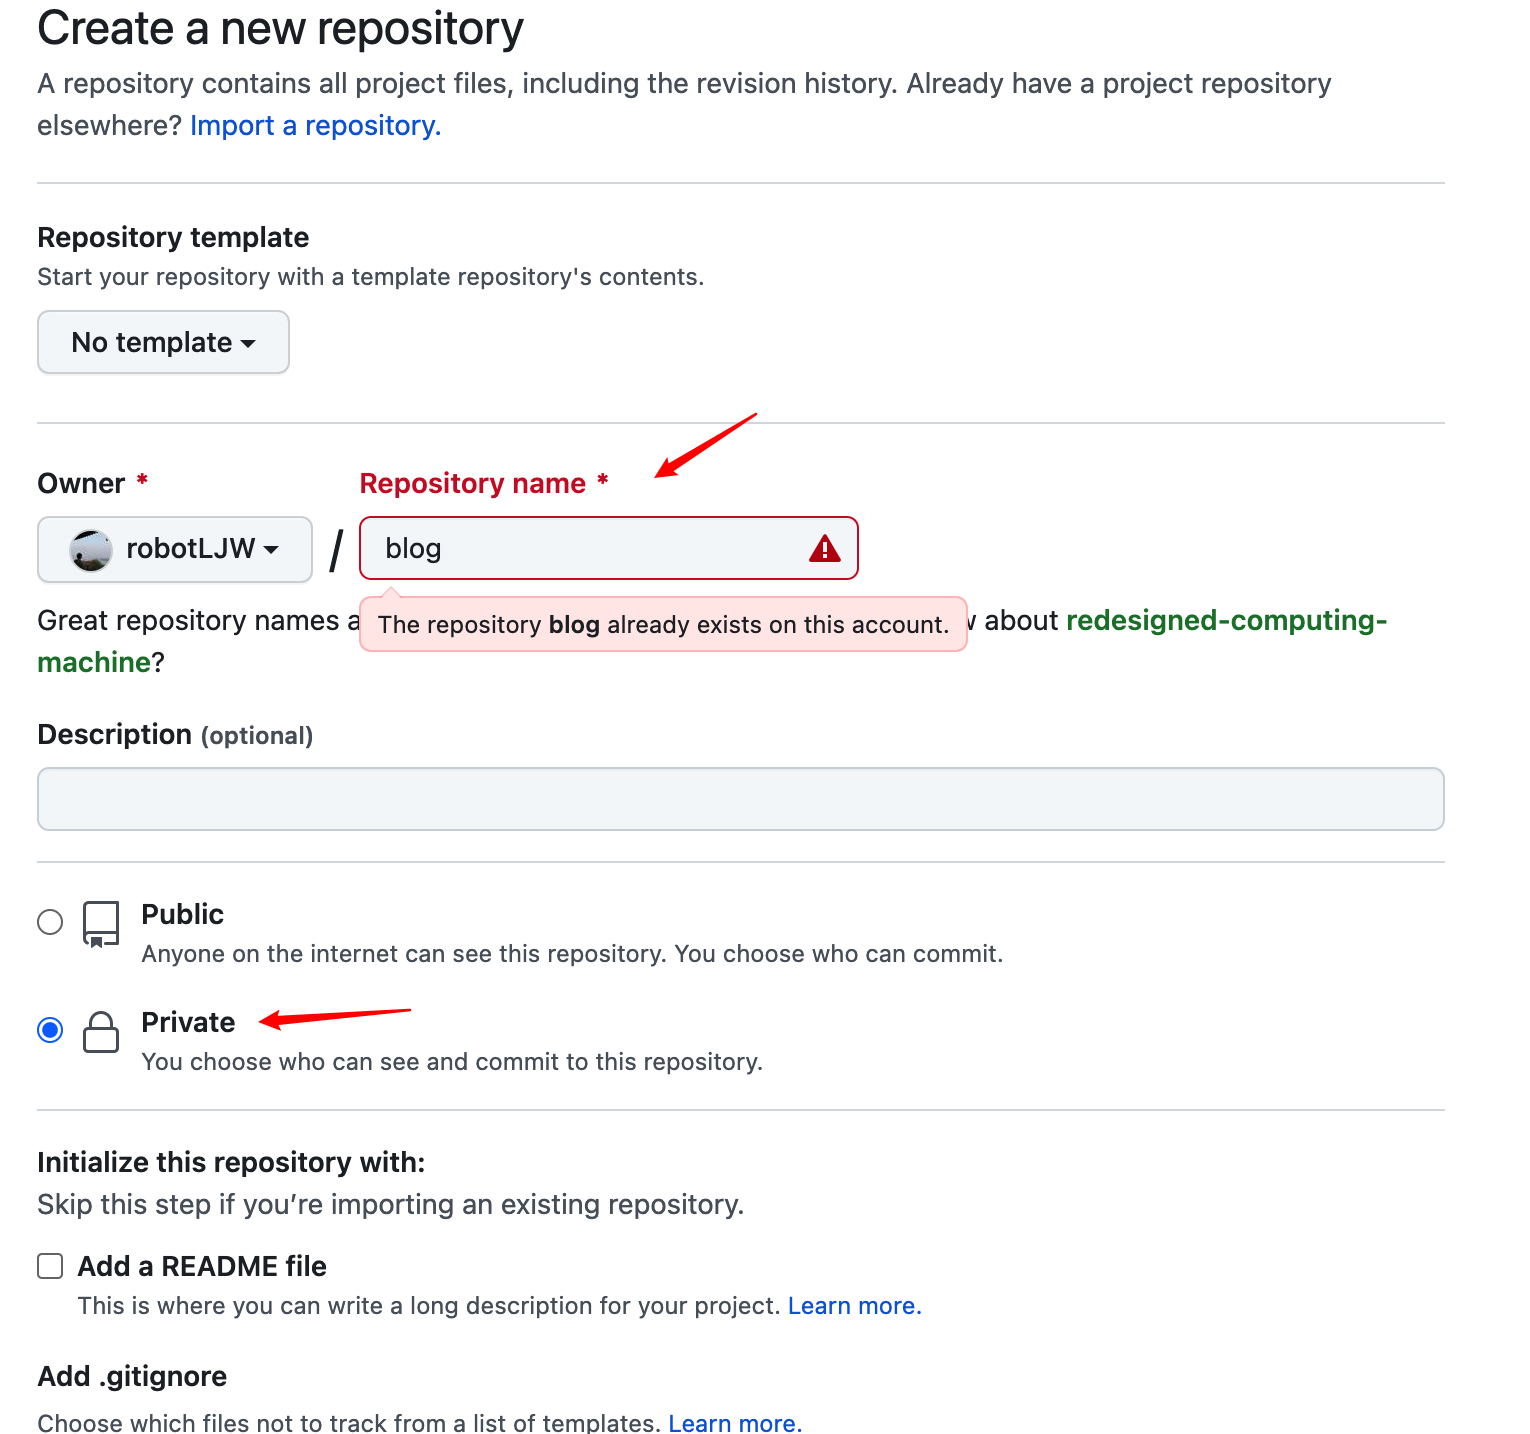
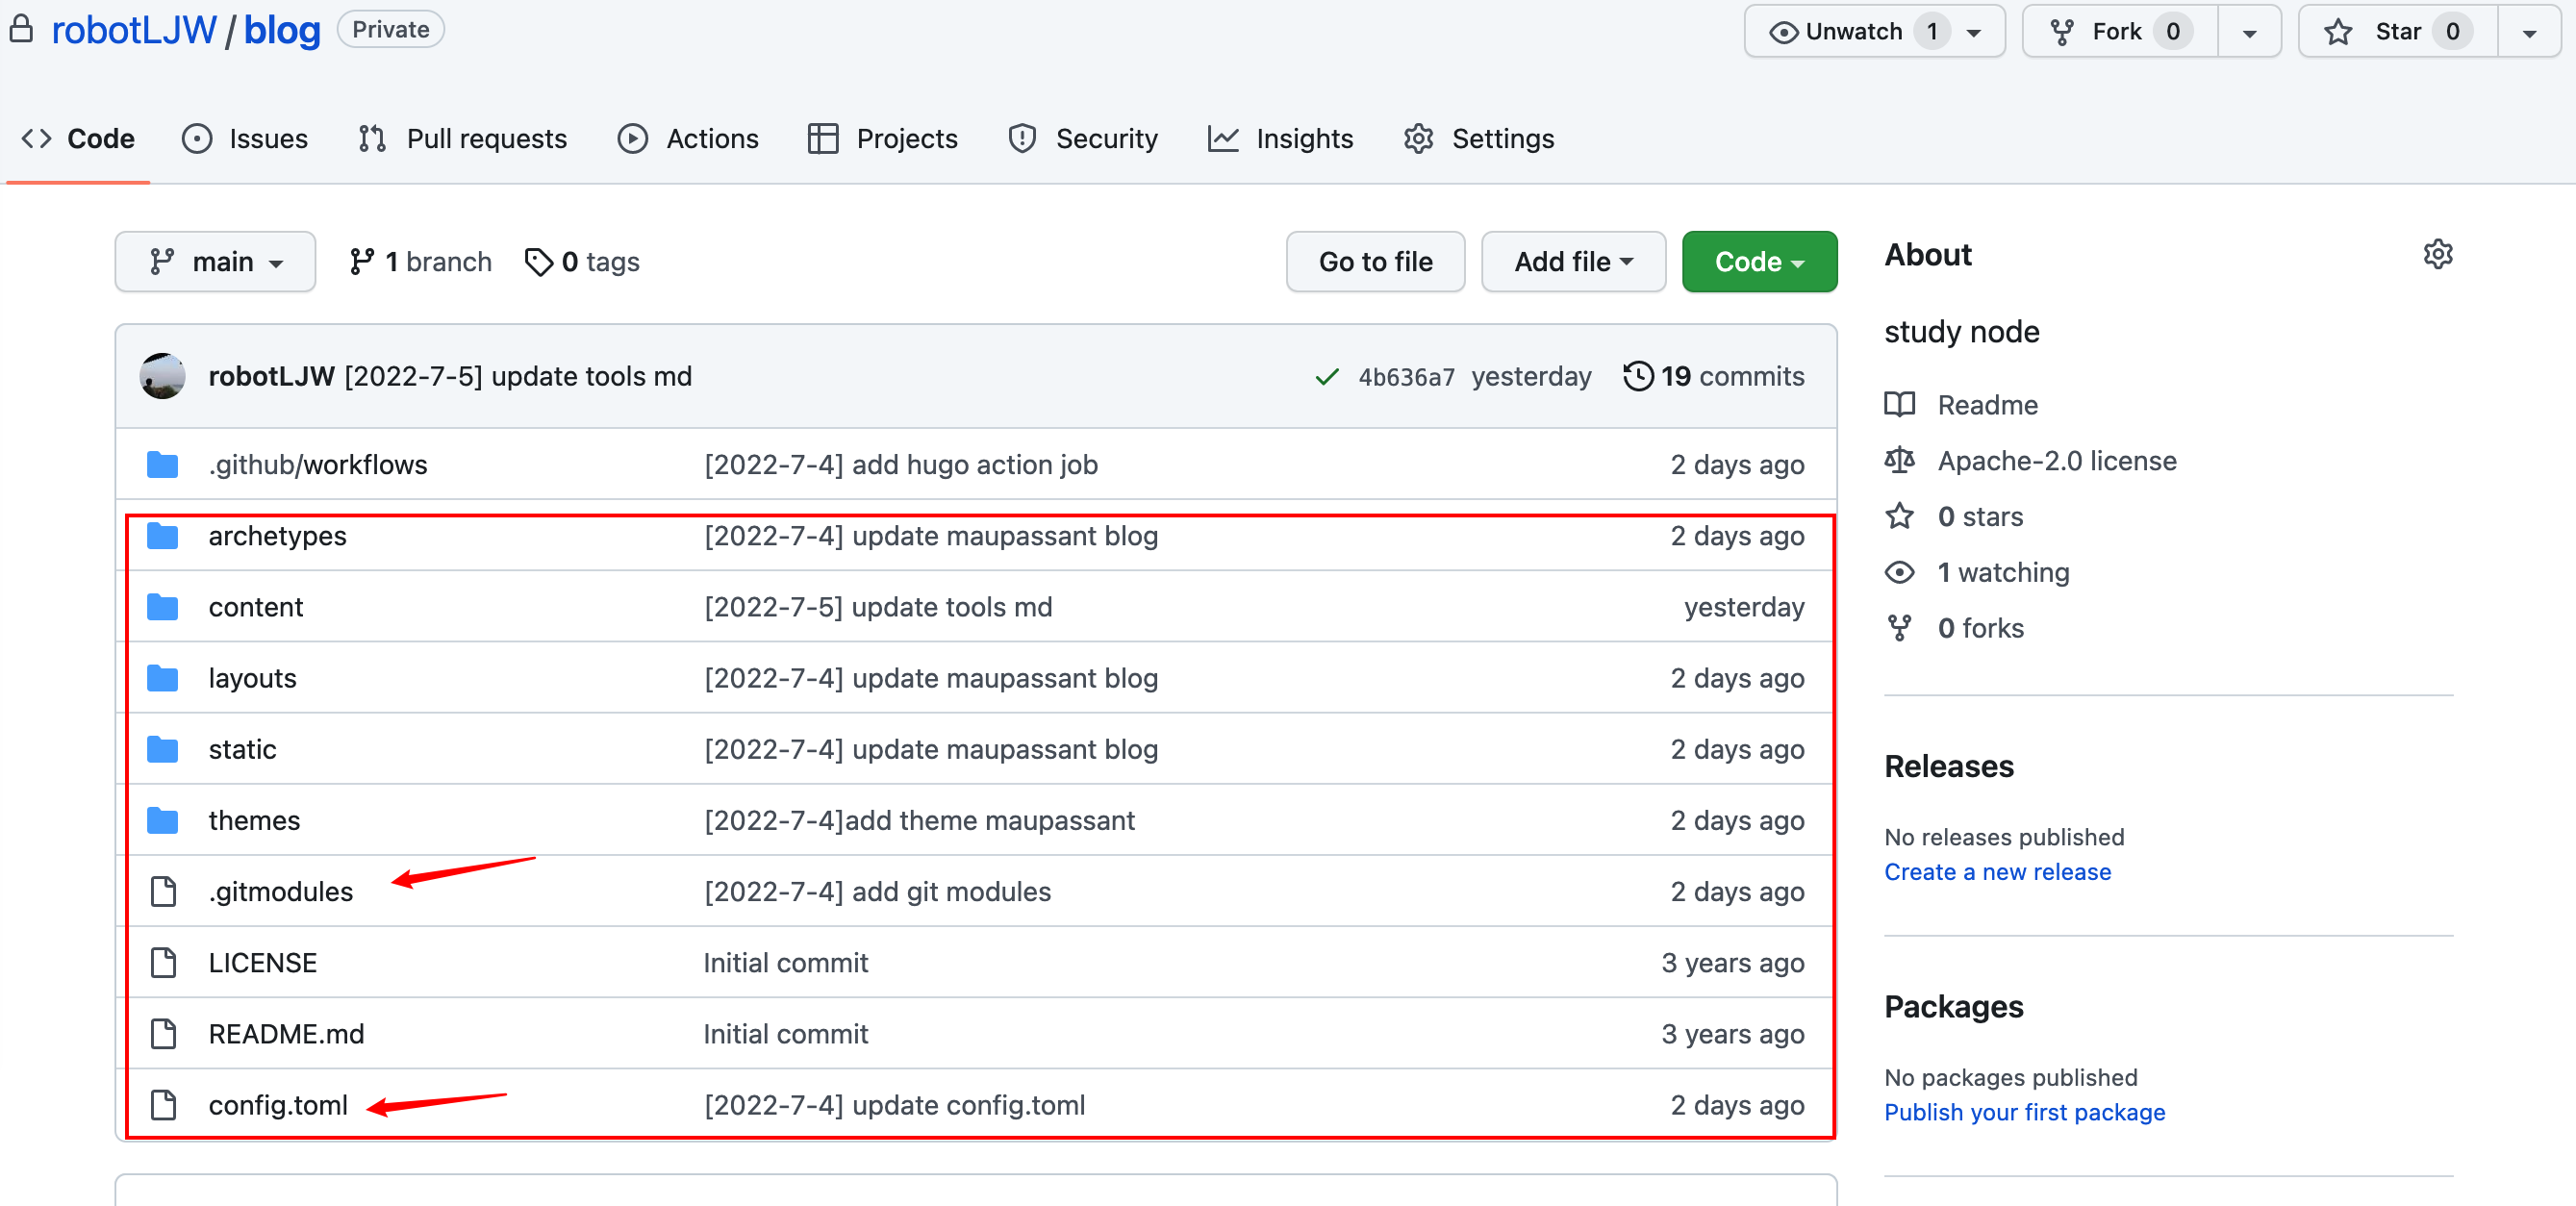
1.2 开通自己的blog私库
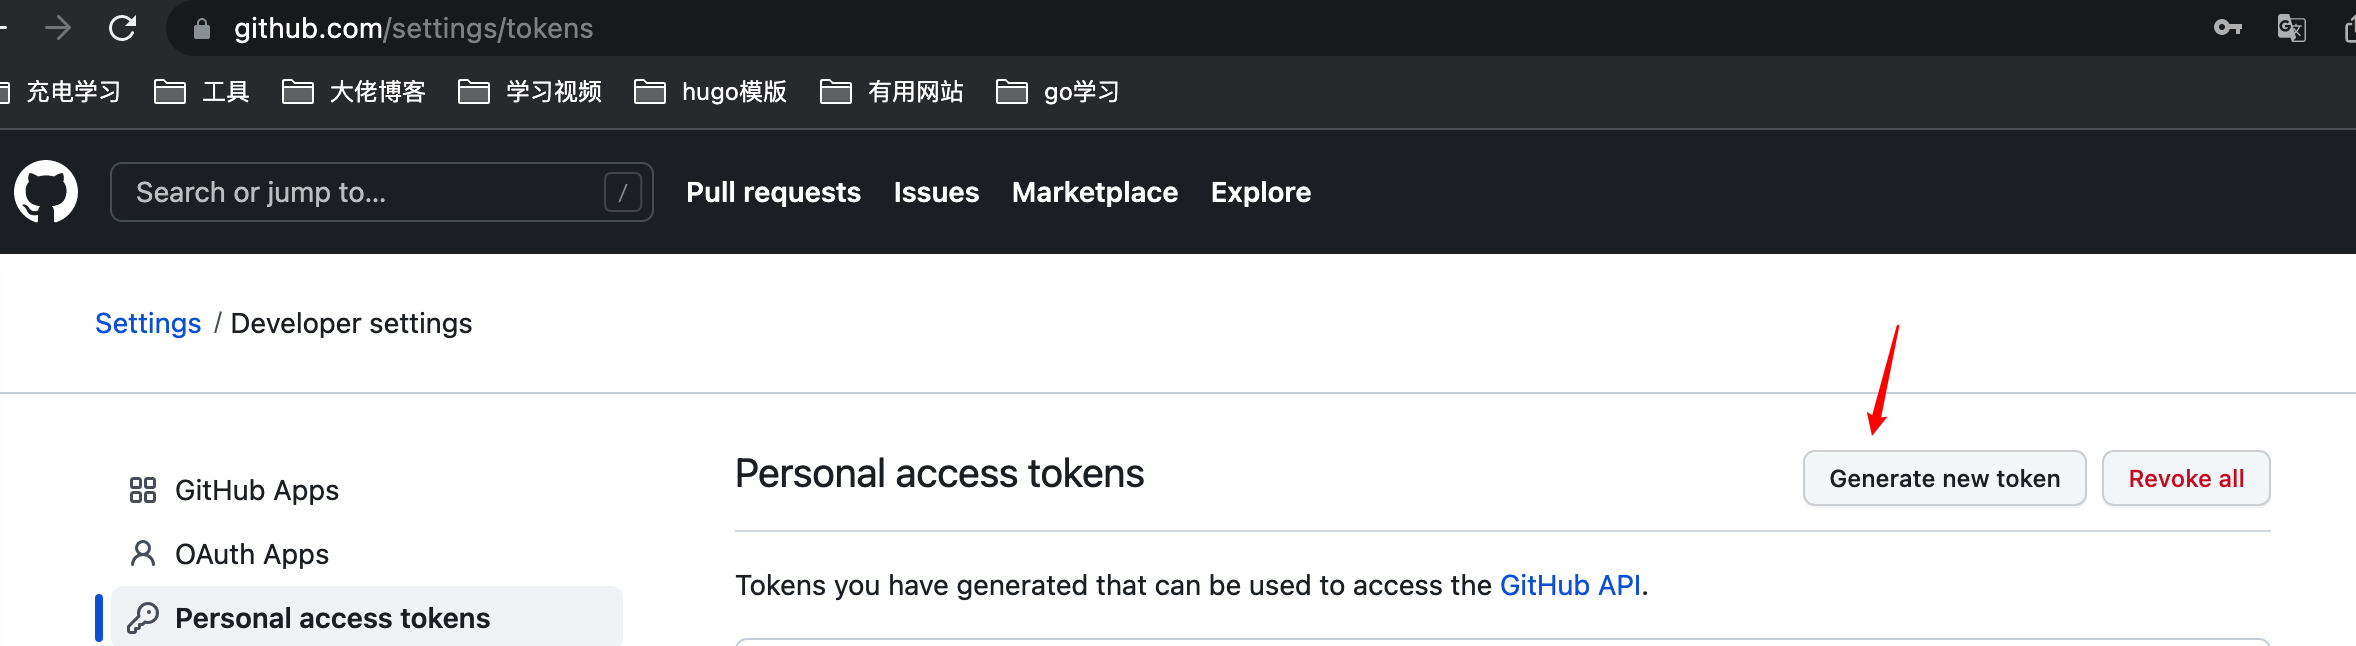
1.3 保存个人的access token
生成个人的access token记得保持一下,这个access token在配置github action中有用,我这边设置无过期时间,而且可以推MR。
1.4 初步了解HUGO
官网:https://gohugo.io/
Hugo 是一个基于Go 语言的框架,可以快速方便的创建自己的博客。
2. 部署发布
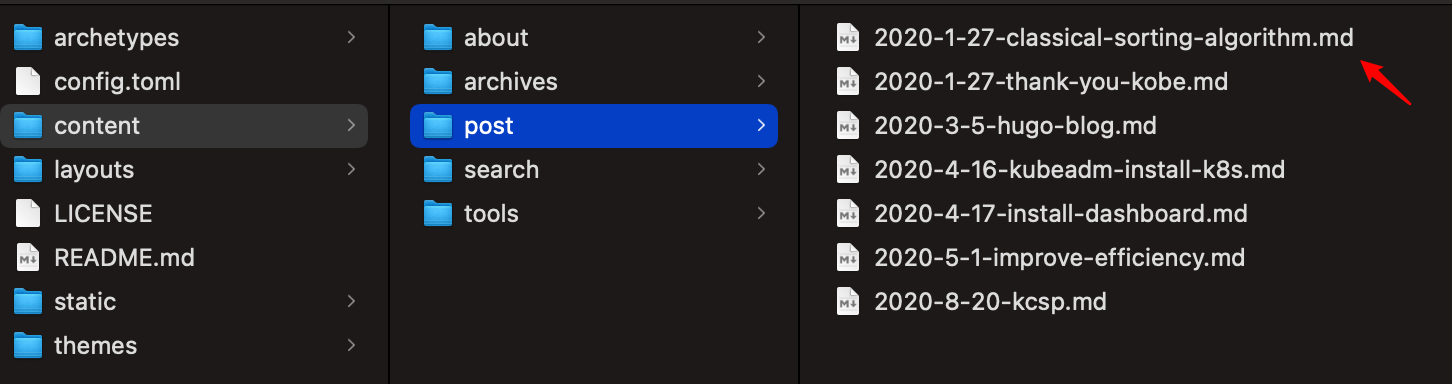
2.1 上传博客至blog私库
这边需要了解下HUGO博客用法
我使用的HUGO博客主题为maupassant,上传HUGO博客至自己的blog私仓。
2.2 配置github actions
官网配置指导说明:https://gohugo.io/hosting-and-deployment/hosting-on-github/
 1
 2
 3
 4
 5
 6
 7
 8
 9
10
11
12
13
14
15
16
17
18
19
20
21
22
23
24
25
26
27
28
29
30
31
32
| name: github pages # 名字自取
on:
push:
branches:
- main # 这里的意思是当 main分支发生push的时候,运行下面的jobs,这里先改为github-actions
jobs:
deploy: # 任务名自取
runs-on: ubuntu-20.04 # 在什么环境运行任务
steps:
- uses: actions/checkout@v2 # 引用actions/checkout这个action,与所在的github仓库同名
with:
submodules: true # Fetch Hugo themes (true OR recursive) 获取submodule主题
fetch-depth: 0 # Fetch all history for .GitInfo and .Lastmod
- name: Setup Hugo # 步骤名自取
uses: peaceiris/actions-hugo@v2 # hugo官方提供的action,用于在任务环境中获取hugo
with:
hugo-version: 'latest' # 获取最新版本的hugo
# extended: true
- name: Build
run: hugo --minify # 使用hugo构建静态网页
- name: Deploy
uses: peaceiris/actions-gh-pages@v3 # 一个自动发布github pages的action
with:
external_repository: xxxx/xxxx.github.io # 发布到哪个repo
personal_token: ${{ secrets.GITHUB_TOKEN }} # 发布到其他repo需要提供上面生成的personal access token
publish_dir: ./public # 注意这里指的是要发布哪个文件夹的内容,而不是指发布到目的仓库的什么位置,因为hugo默认生成静态网页到public文件夹,所以这里发布public文件夹里的内容
publish_branch: main # 发布到哪个branch
|
配置完上传到个人blog私库中.github/workflows/gh-pages.yml。
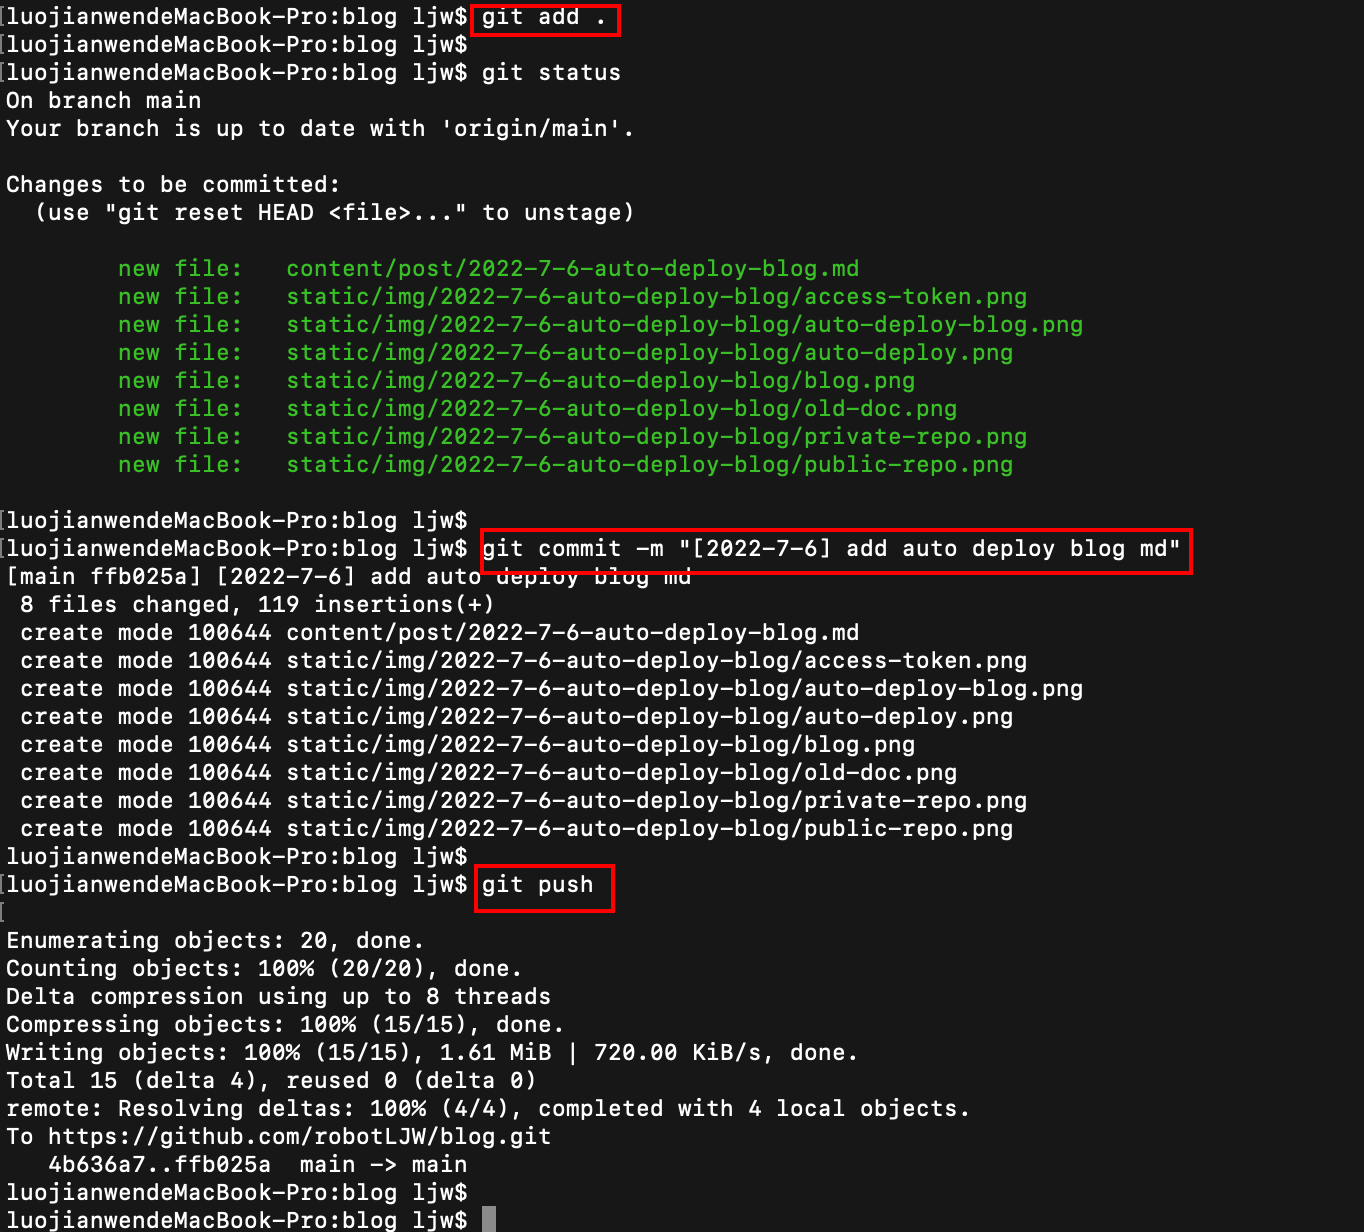
2.3 上传博客验证部署流程
这边需要安装hugo二进制
https://www.gohugo.org/doc/overview/quickstart/
或者直接复制之前创建的文章然后再修改

1
2
3
| $ git add .
$ git commit -m "[2022-7-6] add auto deploy blog md"
$ git push
|
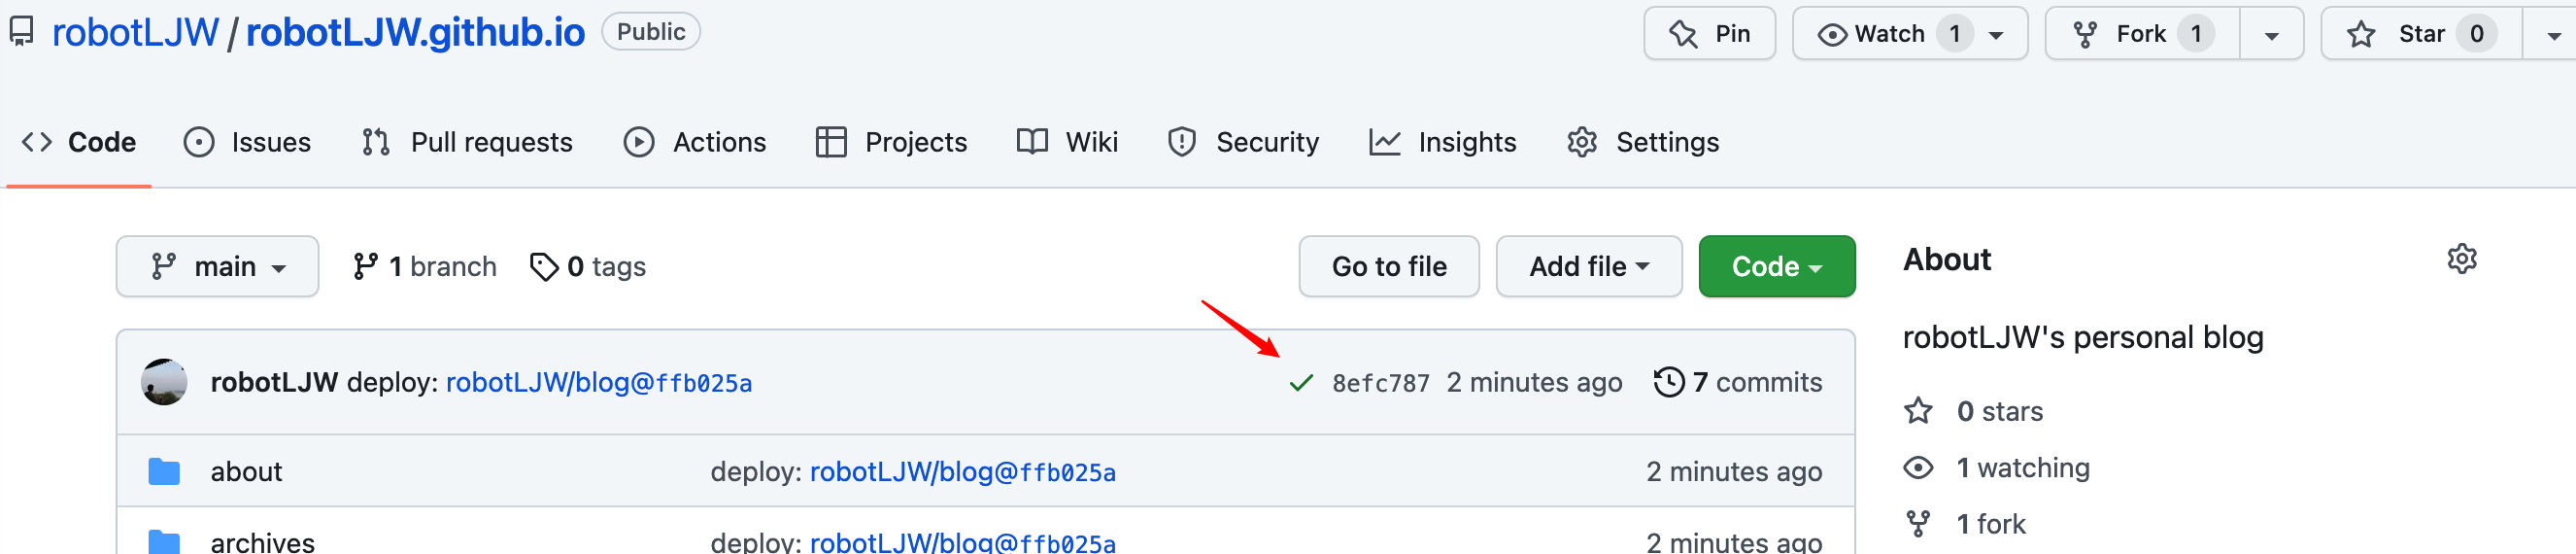
action执行成功!

部署成功!
3. 总结
本文简单介绍了在github上自动化部署HUGO个人博客。